A few weeks ago, I stumbled across a blog called Cooking Ala Mel which featured instructions on how to make your own Cheez-Its. These baked cheddar snacks are one of my favorites, and I was delighted at the idea that I could make them myself!

Keep in mind that the reason for making your own Cheez-Its is to avoid the preservatives found in the store-bought ones. It is definitely not cheaper or easier to make your own snacks, but I had fun anyway. I followed the recipe given on the website and they came out perfect.
Here is what you will need to make your own homemade Cheez-Its:
- 3/4 cup White Whole Wheat flour
- 4 Tablespoons butter
- 1 1/2 cups cheese
- 1/4 tsp salt

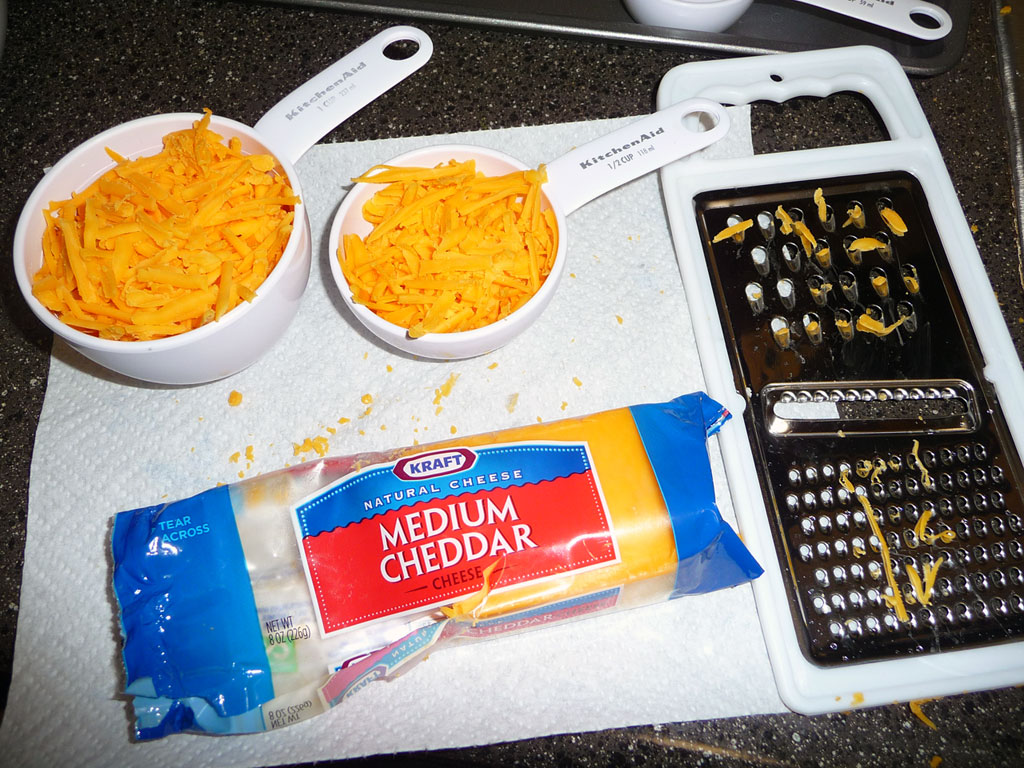
In gathering the ingredients, I could only find a huge bag of white whole wheat flour at the store. I chose an 8oz block of Kraft Cheddar Cheese, but you can use any variety of cheese you like.
I also used the following:
- Baking sheet
- Parchment paper
- Mixing bowl
- Measuring cups
- Rolling pin (or food processor)
Let’s get started!
First, measure out 3/4 cups of cheese. I shredded my own using a cheese grater, but you can also buy shredded cheese at the store.
Add the shredded cheese and 3/4 cup of flour to your mixing bowl.
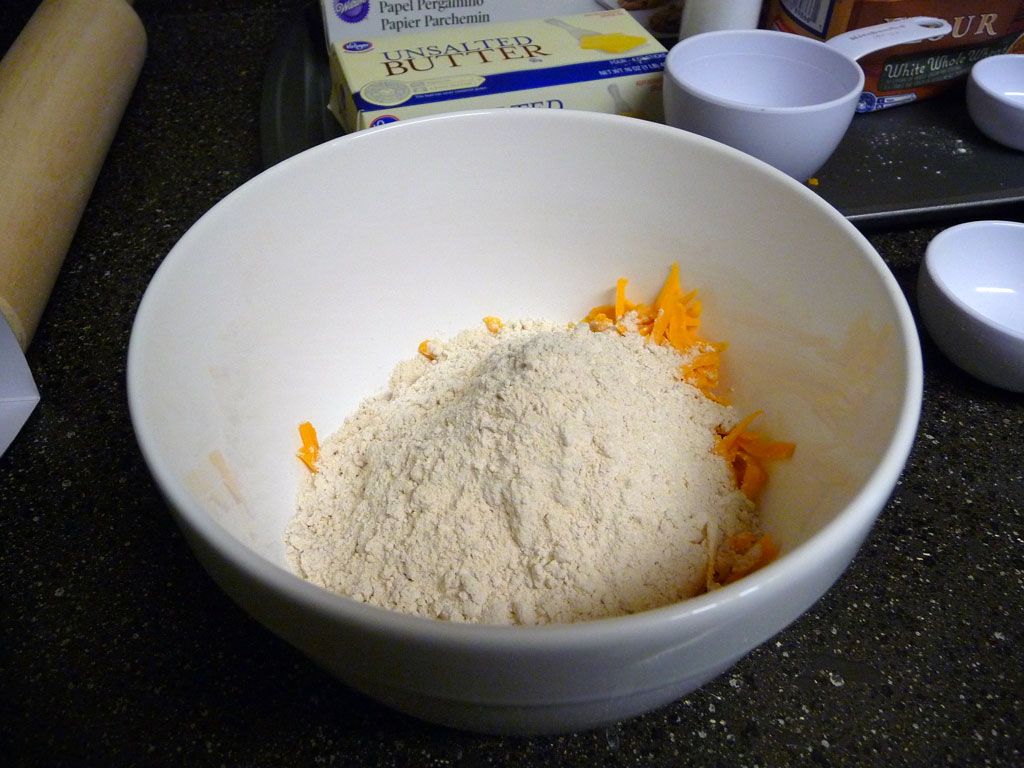
Now, add in 1/4 tsp of salt and half the stick (4 TBSP) of butter to the mixing bowl.

A smart person would mix the ingredients together in a blender or food processor. Since I do not have one, I smooshed everything together by hand. After about 10 minutes, I had a ball that was about the size of an orange.

Take the ball and place it between two pieces of parchment paper. Roll it flat using a rolling pin.

Peel off the top layer of the parchment paper. You want the cheese to be about 1/8″ thick. Mine sort of looked like Africa, or a misshapen heart.

Now, it’s time to make your squares. The blog I followed said to use a pastry cutter to make crinkled edges, but I did not have one of those. A regular pizza cutter worked just fine.
To remove the raw cheese squares from the paper, I used a spatula dusted with a bit of flour.

After that, I placed them on a baking sheet and poked a hole in each one using a fork. I put the Cheez-Its in the oven at 350*F for 8 to 10 minutes as the recipe described.

You want to pull them out when they start to get brown around the edges. I sprinkled some sea salt over the finished crackers. The color became a lot darker as they cooled.

These Mason jars made the perfect storage containers!

Well, that’s it! The single 8oz block of cheese was enough for me to make 3 cookie sheets full of Cheez-Its. They tasted pretty good, but mine were a not as crunchy as the store-bought kind. Mine were more crumbly, but that was alright with me.
If you decide to make your own, leave me a comment and let me know how they came out. Thanks for reading!